|
Last Modified on
Thursday, November 10, 2005 6:54 PM
4. Setting Up Internet Rex
4.1 Setting up the General Information
If you look at Figure 1 below, these settings are pretty obvious :)
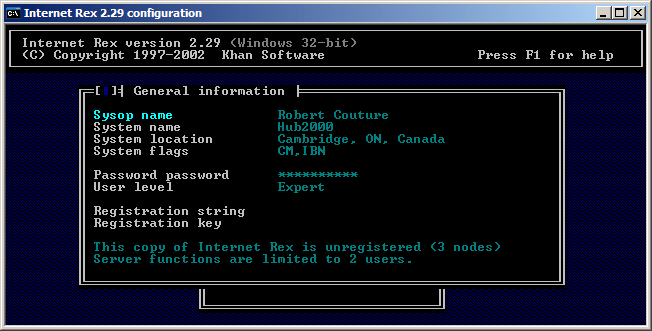
Figure 1.
4.2 Files and Paths
Assuming that Internet Rex is installed in c:\irex and Synchronet is installed in c:\sbbs, configure
the paths as shown in Figure 2 below.  [Note:  If the directory does not already exist Internet Rex
will prompt you to create it.  It is safe to choose "Yes" when prompted.
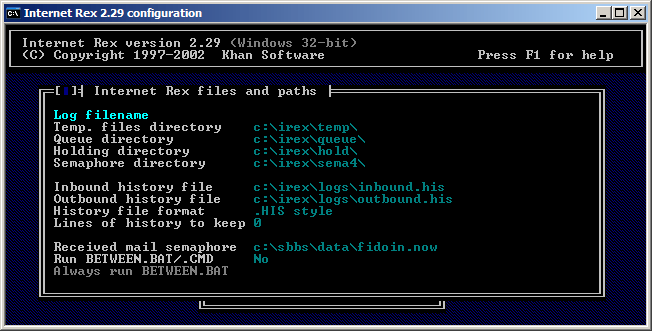
Figure 2.
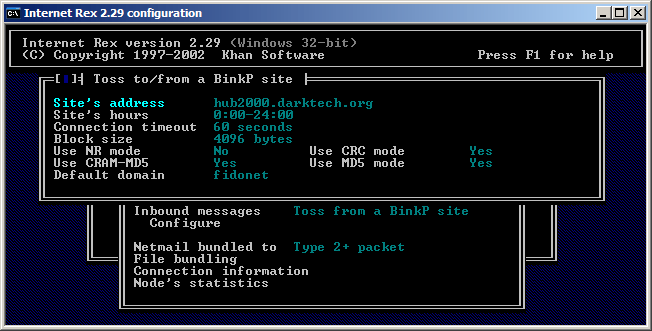
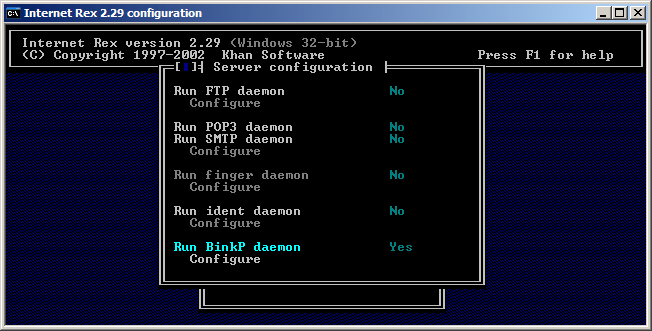
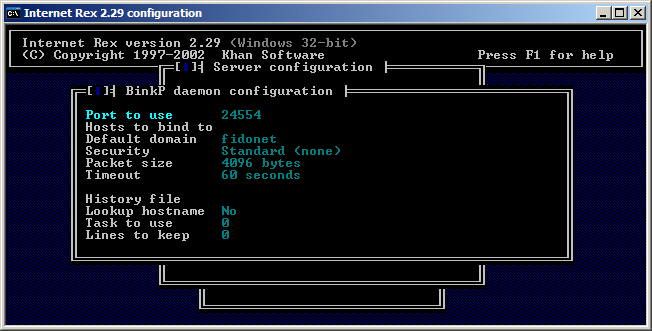
4.3 Front End Mailer Setup
For the purposes of setting up Synchronet, this section seals only with Internet transport of bundles.
It goes beyond the scope of this document to delve into POTS Mailer synchronization with Internet Rex.
Fill in the information as in Figure 3. below.
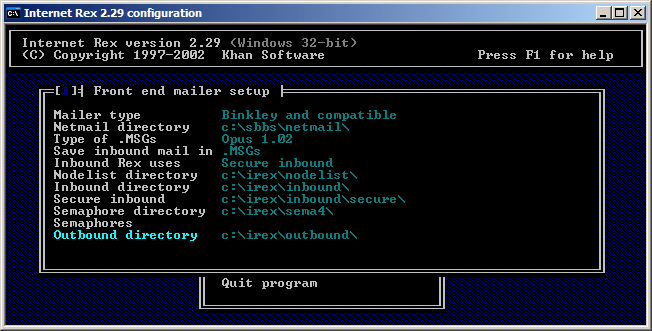
Figure 3.
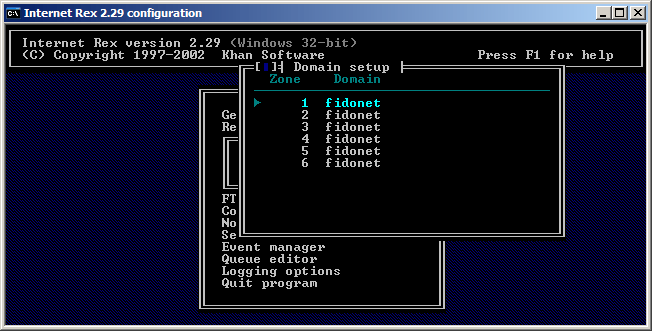
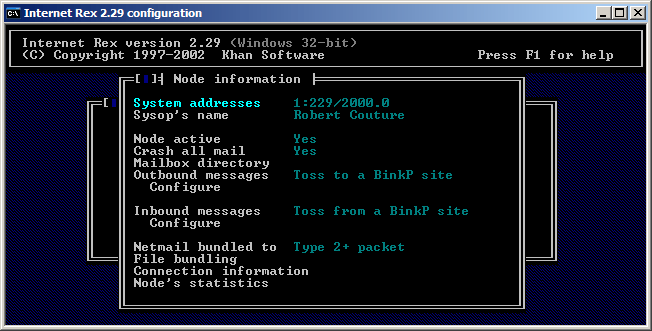
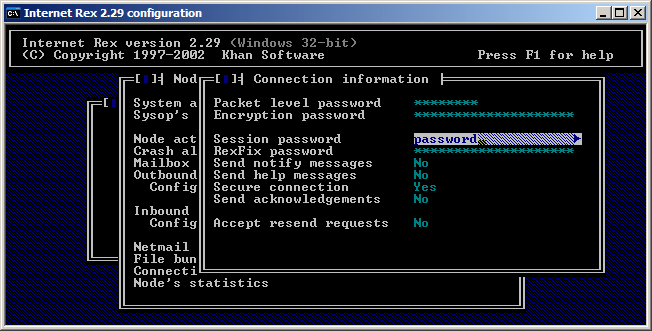
4.4 Node Number and AKA Setup
This is where you will enter your Node Number.

You need to enter the temporary node number assigned by the NC instead of 1:229/2099.0  You
will also change this to your new FidoNet node number when it is  assigned to you.  Depending
on the Net you are joining, there may only be one temporary node number in the nodelist.  Use
that node number.

In the case of Net 229, you need to use the temporary node number assigned in E-Mail.
If you have more than on AKA (Node Number) additional AKA's are entered into the System AKA's
below the main address.
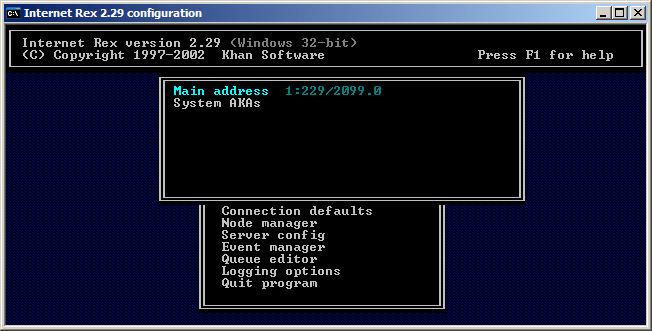
Figure 4.


Last Modified on
Thursday, November 10, 2005 6:54 PM
|